


Well today I am going to share with you an ATC project I did a little bit ago for a challenge over at Noel Mignon. The challenge was to use as many shades as you wanted of one color, but only ONE color!! (I assumed that the picture elements you chose could be whatever colors, so that is what I went with) The color I chose (and this may be cheating :P) was a creamy white. :D So everything on here is from a stark white to a dirty kind of malty cream color. Absolutely had a blast doing this!
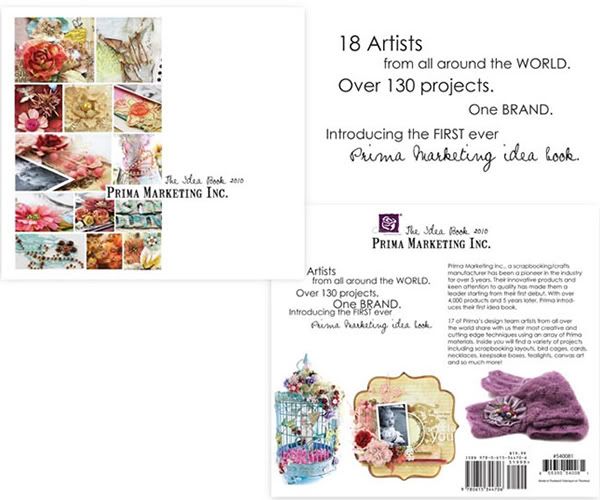
I used these gorgeous (free!) images, found at this blog, for the little pops of color on the ATCs. Everything else was from my stash or things around the house that were the color I needed. :D You are probably wondering why there are three empty spaces in my Printer's Tray, and that would be because I ran out of time. :P But I fully intend on finishing the last three. As the other 9 were a ton of fun to do! :D
 Here are close ups of all the ATCs I made. I will list all the products used after each one.
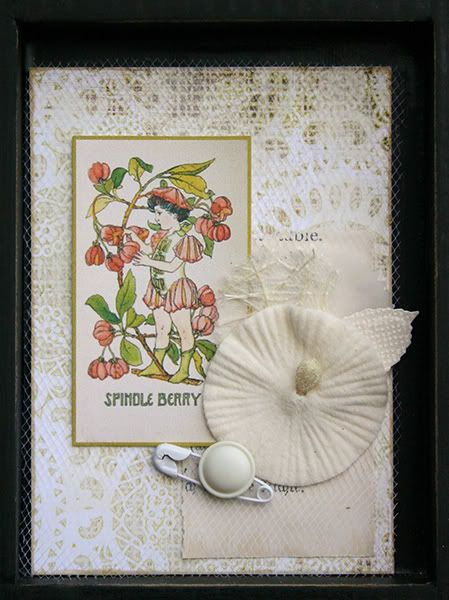
Supplies: Paper-Basic Grey Nook and Pantry "Cornbread", Cosmo Cricket Coredinations cardstock (punched leaf), vintage book paper and glassine envelope, organic paper from my stash; Embellishments-Making Memories Vintage Findings Large Baby kit (safety pin), Making Memories Vintage Findings Velvet Flowers, tulle from Michaels, Autumn Leaves button; Tools-Martha Stewart Starburst punch, Martha Stewart Rose Leaf punch

Supplies: Paper-Crate Paper Pink Plum "Very Berry", Basic Grey Nook and Pantry "Waffles", Basic Grey Indian Summer Brown Doily (backside of it), vintage book paper; Embellishments-Elle's Studio Journaling Tag (punched leaf), Hambly Stitches rubon in Cream, Prima La Fleur Boheme flower (little cream flower taken off of larger flower), Prima Velvet Rose Leaf in white, crepe paper and twine from my vintage stash; Tools-Martha Stewart Starburst punch, Martha Stewart Rose Leaf punch
Supplies: Paper-October Afternoon Night Light "Katie", organic paper from stash; Embellishments-Ivory Jute twine from Studio Calico, Making Memories Vintage Findings Mini Nature kit, Hambly Doilies rub in Cream
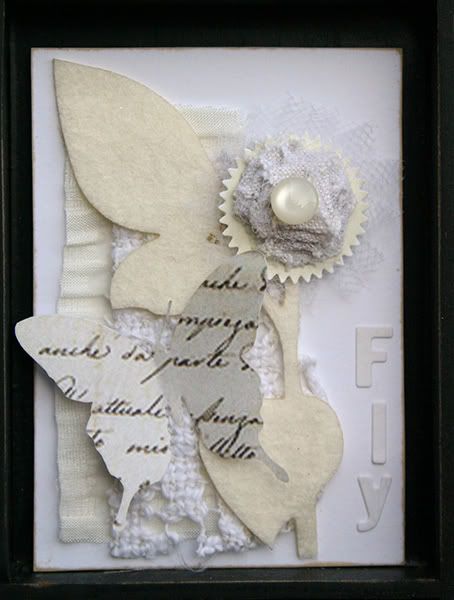
Supplies: Paper-Cosmo Cricket Honey Pie; Embellishments-Elle's Studio Journaling tag (punched with startburst), Tulle/Fabric/Lace all from my vintage stash, Prima Felt Stem in Cream, Button from Beverly's Crafts, Basic Grey Manilla Micro Monograms stickers; Tools-Martha Stewart starburst punch
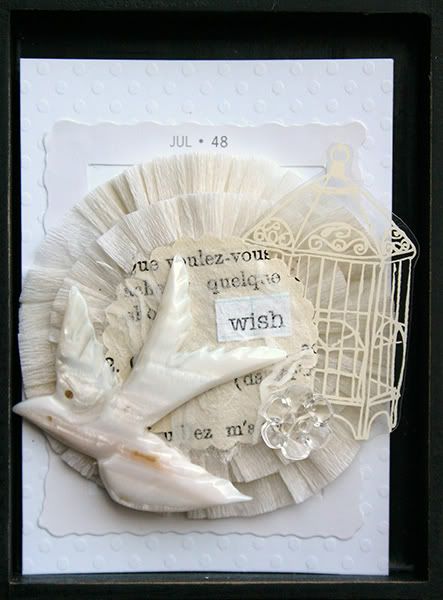
Supplies: Paper-Bazzill Swiss Dot white cardstock, vintage book paper, organic paper from stash; Embellishements-Making Memories Vintage Findings Large Baby kit, Making Memories Vintage Findings Silver buttons, Girl's Paperie Sticker Market (wish sticker), Hambly Birdcage overlay in Cream, K and Co Handmade vintage frame sticker, Bird bead from Beverly Crafts; Tools-Marvy 1 1/2 in Scallop circle punch
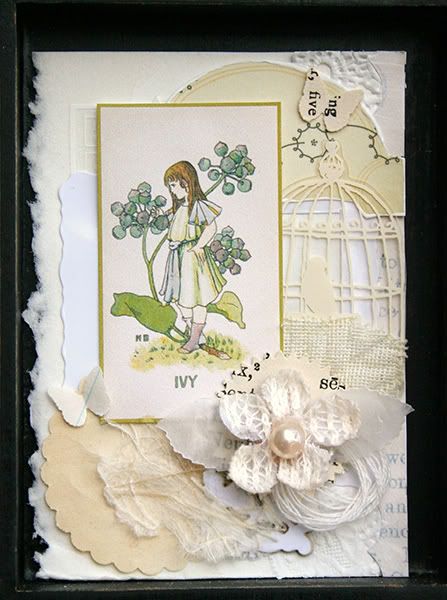
Supplies: Paper-Cosmo Cricket Earth Love 6x6 mini deck, Basic Grey Indian Summer Brown Doily (backside of it), vintage book paper and glassine envelope; Embellishments-Hambly Birdcage Overlay in Cream, Prima Calcutta leaf in Oatmeal, Prima La Fleur Boheme Flower (little cream flower taken off of larger flower), K and Co Handmade Frame sticker, Maya Road Calendar rub in white, string from sweater extra; Tools-Martha Stewart Starburst punch, Martha Stewart Rose Leaf punch, Marvy 1 1/2 in Scallop circle punch
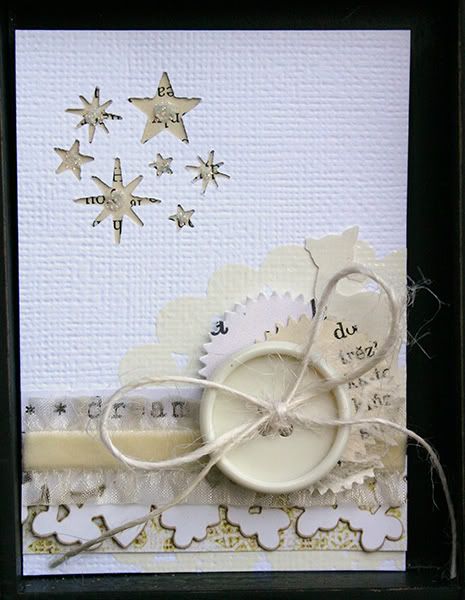
Supplies: Paper-Bazzill Cardstock, Basic Grey Nook and Pantry "Cornbread", Basic Grey Indian Summer Brown Doily (backside of it), vintage book paper; Embellishments-Sassafras Lass deer sticker backing, Pink Paislee Velvet ruffled trim, Studio Calico Ivory Jute twine, Making Memories Vintage Findings Word strip (dream), Autumn Leaves button, Hambly Doily rubon in Cream, Snow glitter from Michael's; Tools-Martha Stewart Star Confetti punch, Martha Stewart Starburst punch

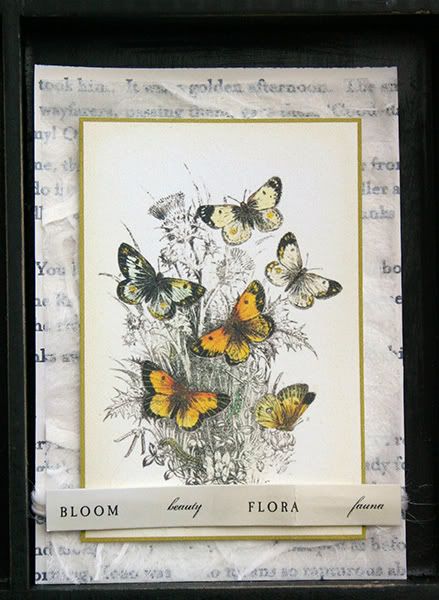
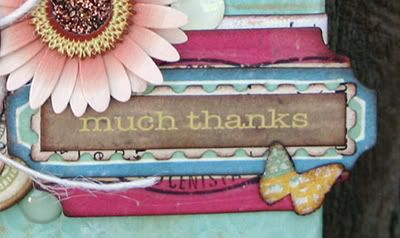
Supplies: Paper-October Afternoon Cherry Hill "Tea Towel", Basic Grey Nook and Pantry Doily in Yellow/Cream, vintage book paper; Embellishments-Webster's Pages lace, Making Memories Vintage Findings Mini Girl kit; Tools-Martha Stewart 3-in-1 Butterfly punch
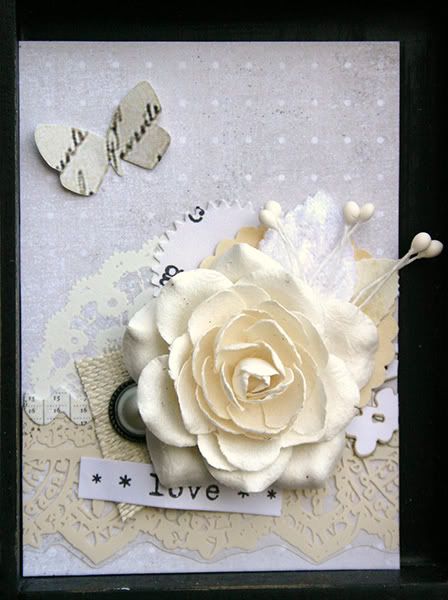 Supplies: Paper-Basic Grey Basics White "Census", Basic Grey Indian Summer Brown Doily (backside of it), vintage paper from stash; Embellishments-Hambly Doily rubon in Cream, Hambly Lace Overlay in cream, Making Memories Vintage Findings Word strip (love), Making Memories I Do brad, Prima Velvet Rose Leaf in white, Prima Flower Centers in white, Prima Donna Downey Canvas (backside of it), Prima Trellis Rose in White, Basic Grey Basics White sticker trim, Elle's Studio journaling tag (punched with Rose leaf); Tools-Martha Stewart Rose Leaf punch, Martha Stewart Starburst punch, Marvy 1 1/2 in Scallop circle punch
Ok wow. Could that have been any longer?! LOL! I had no idea it would take such a long post to get all that typed up :P One thing I wanted to share with you about this project (and of my previous ATC project), is that none of the ATCs are fixed into the Printer's Tray. I use that sticky tack whatever stuff you can get from the Office Supply store to keep them in, but are super easy to remove when you want to change out the display. :D That way I don't have to keep buying more trays! But what I am planning on doing with the ATCs when they come out-as I don't want to just put them in a box or something never to be seen again-instead I am going to make banners out of them and string them up! :D At least I think this will work. :P I haven't tried it yet, but I think it should be pretty easy. I will just adhere the string to the back of the ATC (near the top) and that should be good. Have any of you ever tried this? If so any good pointers would be MUCH appreciated! :D
Well that is all I have for right now. Stay tuned real soon for more scrappy stuff and a baby bump update! :D
Take care everyone!
~Amy

 I decided to use a
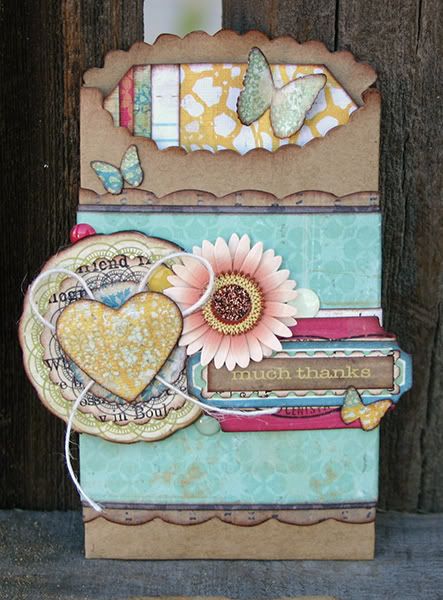
 Oh and just in case you were wonderin-the little epoxy circles on the tag sleeve are from the Mia and Lemon Grass epoxy sticker sheets. :D Love those little things! The colors worked perfect-which I thought was pretty awesome! Makes me really want to dig through all my older stuff and find what it will fit with of my new stuff. Great way to use up your stash!